Have you ever gazed into a crackling fireplace or watched a bonfire dance and felt an irresistible urge to capture its mesmerizing beauty on paper? Fire, in its contained form, is not just useful but also incredibly charming, a captivating subject for any artist. However, drawing flames and fire can appear more complicated than sketching simple shapes like cylinders or circles. Yet, with the right approach and a few "basic rules" to guide you, the art of fire drawing becomes an accessible and rewarding endeavor.
This comprehensive guide is designed to demystify the process, transforming the elusive, transient nature of fire into a tangible masterpiece on your canvas. We’ll delve into artistic techniques, color theory, and visual effects to help you create dynamic and realistic fire drawings. Whether you're a beginner looking to draw simple flames or an experienced artist aiming for hyper-realistic effects, this easy guide will show you how to create stunning flames, vibrant colors, and compelling shading that will make your fire drawing look truly mesmerizing.
Table of Contents
- The Allure of Fire Drawing
- Essential Tools for Your Fire Drawing Journey
- Understanding the Anatomy of a Flame
- Step-by-Step Guide to Drawing Realistic Fire
- Mastering Color and Shading in Fire Drawing
- Stylized vs. Realistic Fire Drawing
- Practice, Observation, and Inspiration
- Beyond the Basics: Advanced Fire Drawing Techniques
The Allure of Fire Drawing
Fire has held a profound significance throughout human history, symbolizing warmth, destruction, passion, and transformation. While uncontrolled fires can be terrifying, contained fires—like those in a hearth or a campfire—are not only useful but also possess a captivating charm. This dual nature makes fire an incredibly compelling subject for artists. Drawing flames requires patience and practice, as it involves capturing the elusive, transient nature of fire with accuracy, depth, and an understanding of its dynamic essence. It’s a challenge that many artists embrace, seeking to convey the light, heat, and movement that make fire so alive. For those just starting their artistic journey, the good news is that fire is not hard to draw, especially if you begin with simple flames. The key lies in breaking down its complex appearance into manageable shapes and understanding the fundamental principles that govern its form and flow. This article aims to provide you with the foundational knowledge and step-by-step instructions to embark on your fire drawing adventure, whether you aim for a simple illustration or a highly realistic depiction.Essential Tools for Your Fire Drawing Journey
Before we dive into the specifics of drawing, let's ensure you have the necessary supplies. The beauty of fire drawing, especially when starting, is that you don't need an extensive array of specialized tools. All you need to get started are essential drawing supplies that most aspiring artists already possess:- Pencil: A standard graphite pencil, such as a 2HB, is perfect for initial sketches. It allows for faint lines that can be easily erased or built upon.
- Eraser: A good quality eraser is crucial for refining your lines and correcting mistakes without damaging the paper.
- Paper: Thick paper is recommended, especially if you plan to add layers of color or ink, as it can withstand more manipulation without buckling.
- Pen and Ink (Optional): For those who wish to go over their pencil sketch with more defined lines, a fine-tip pen or ink can add crispness and permanence to your fire drawing.
- Coloring Mediums (Optional): If you prefer to draw fire in color to represent its vibrant red, orange, and yellow hues, you'll need coloring tools. Markers can be a good option for brighter looking colors, while colored pencils offer more control for blending and shading.
Understanding the Anatomy of a Flame
To truly master fire drawing, it's essential to understand the fundamental principles of how a flame is formed and behaves. This isn't just about mimicking what you see; it's about comprehending the underlying dynamics that give fire its characteristic appearance. The man behind many insightful guides on fire drawing, including principles we'll touch upon, is Goncalo Lopes—a professional artist coming from Portugal. His approach often emphasizes breaking down complex forms into understandable components.Basic Flame Shapes: The Teardrop Foundation
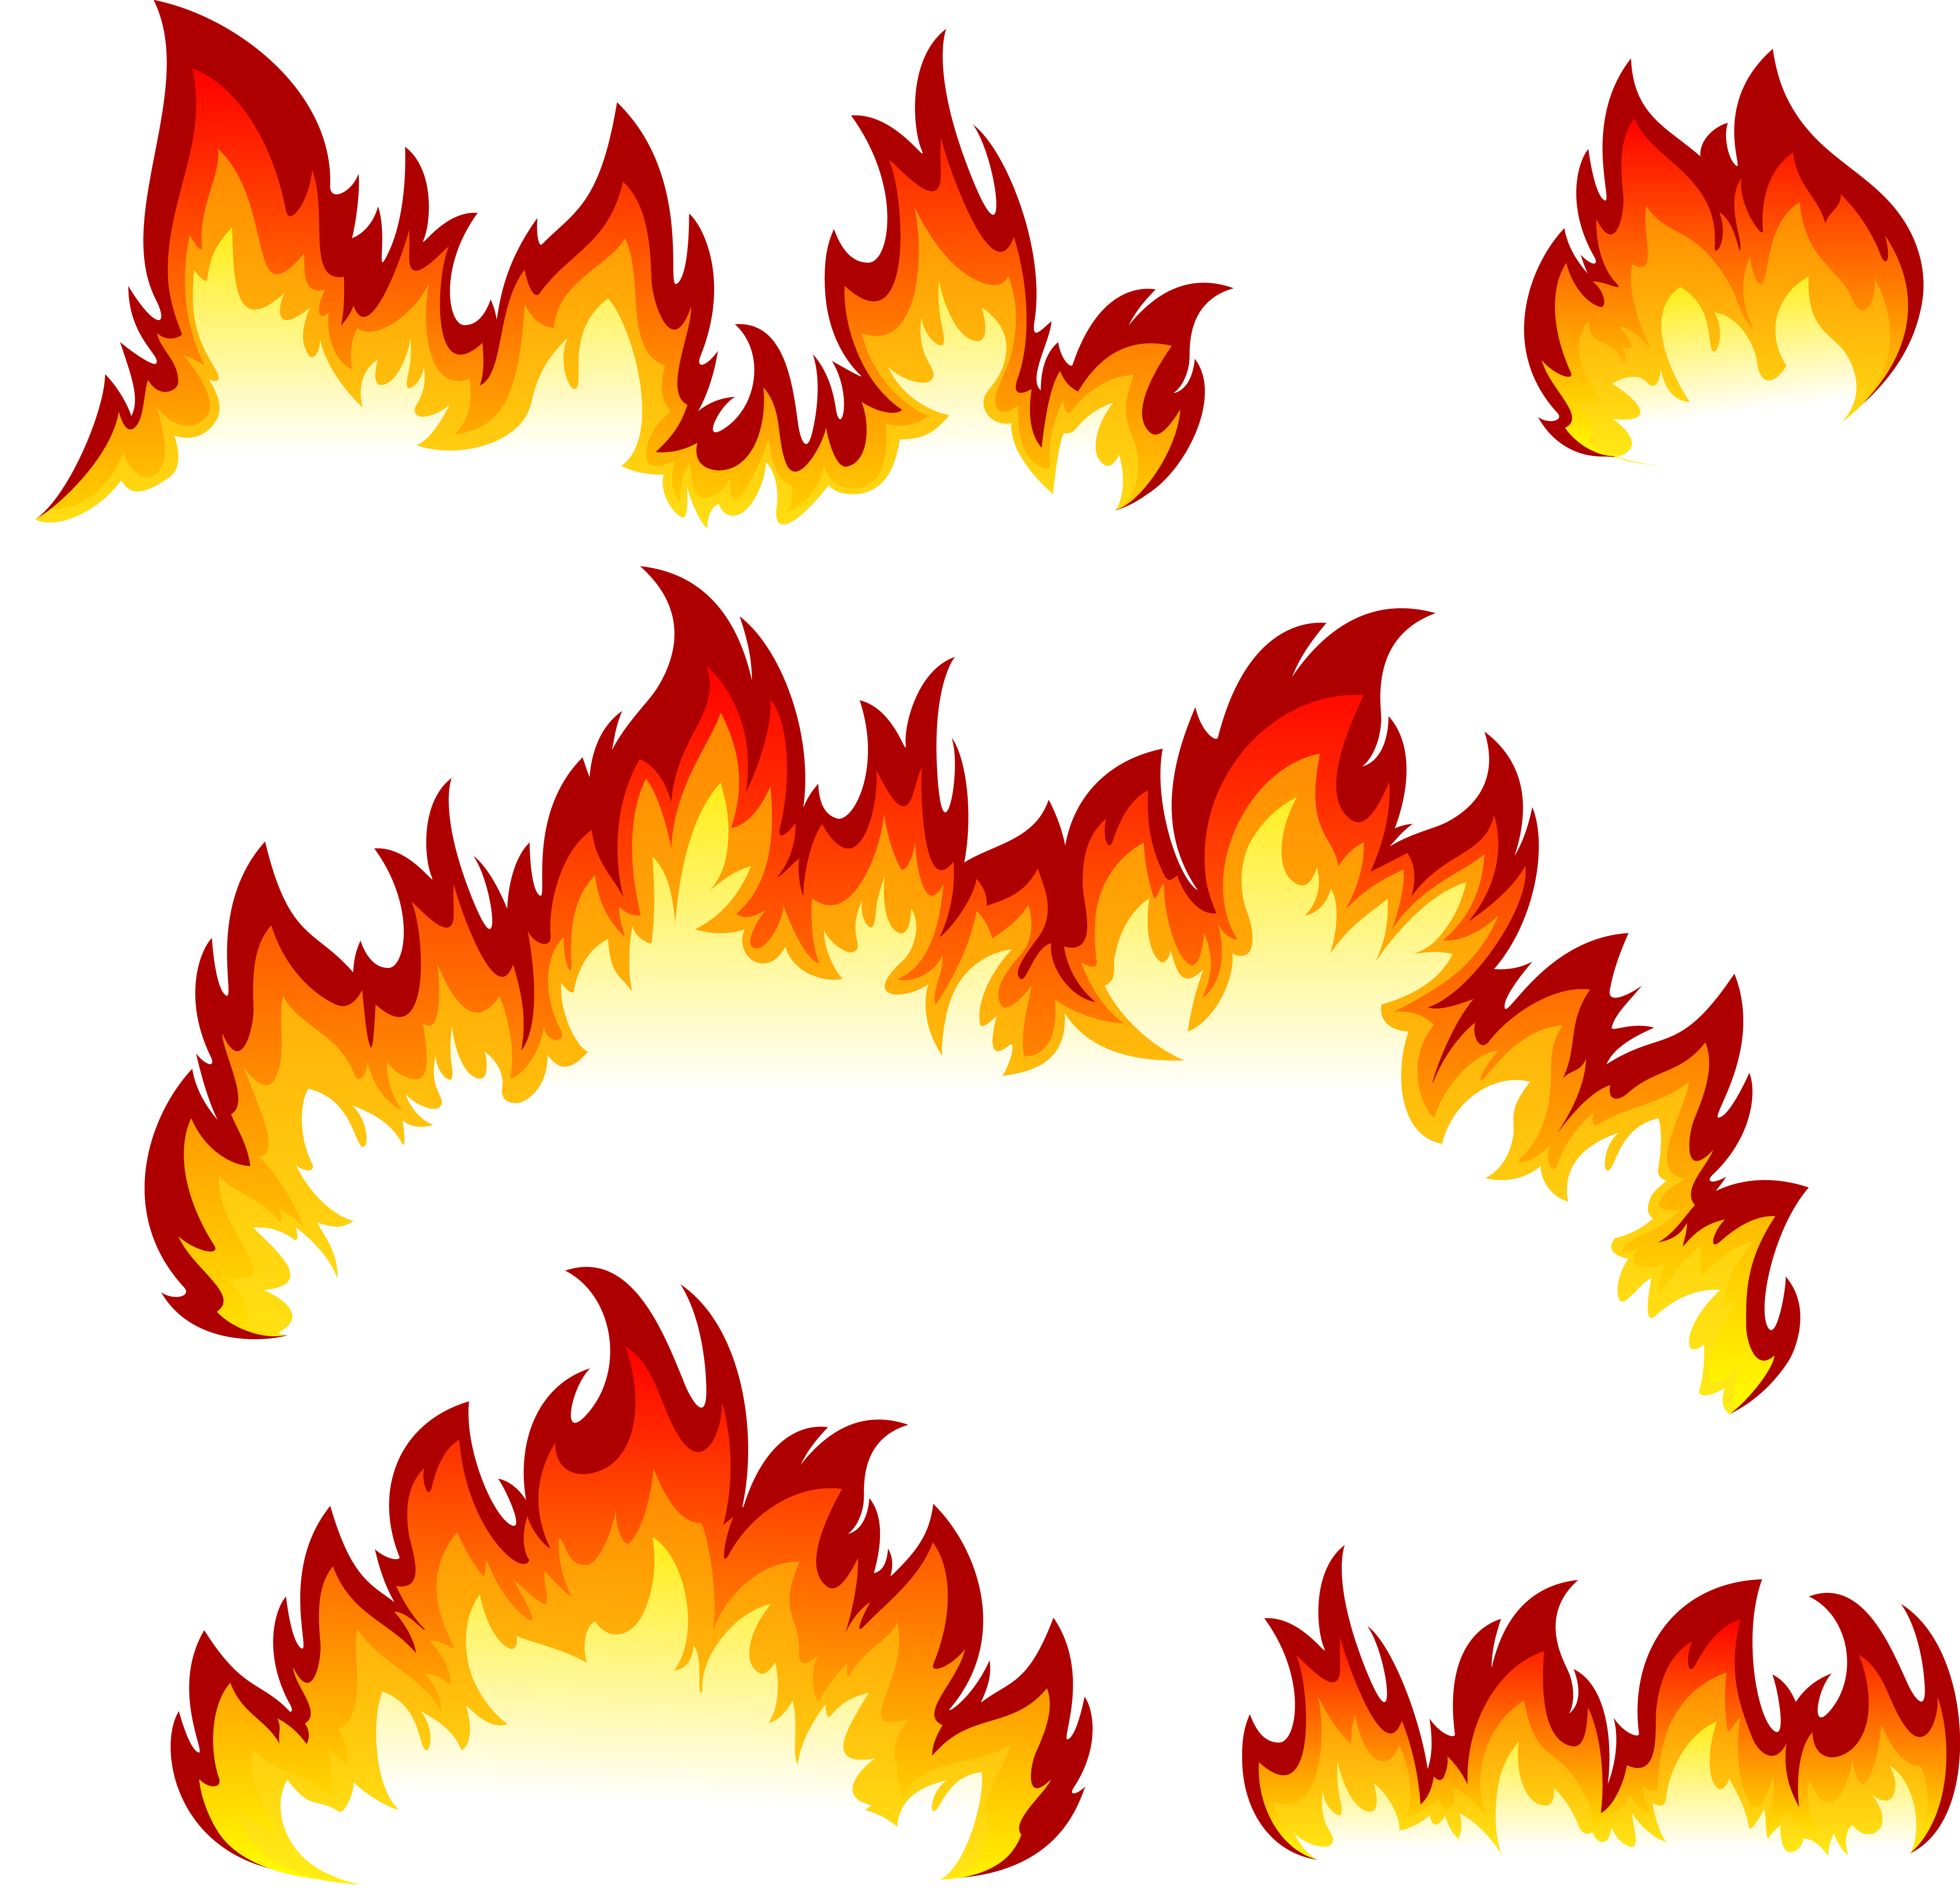
The most fundamental shape for a flame is often described as a teardrop or a water droplet. This basic flame shape serves as your starting point for any fire drawing.- Start with a tear drop to help you get started if you need to.
- These shapes should both be narrow and pointed at the top, and rounded and wider at the bottom.
- If you wanted a simple way to draw flames, you could just repeat this basic shape, varying their sizes—one longer, and one shorter—to create a sense of natural movement.
The Dynamic Dance: Wind and Oscillation
Fire is rarely static. It constantly moves, flickers, and dances. This dynamic essence is crucial to capture in your fire drawing. We will break down the concepts of how flames interact with the wind and therefore cause these sporadic oscillations within the structure of the flame drawing.- Upward Flow: Fire always rises. Even if influenced by wind, the general direction of the flame will be upwards.
- Irregularity: The curve of a flame should be slightly irregular to mimic its natural movement. Avoid perfectly smooth, symmetrical lines.
- Flickering: Small, erratic movements create a sense of life. These are the "sporadic oscillations" caused by air currents.
Step-by-Step Guide to Drawing Realistic Fire
Now that we understand the basics, let's dive into the practical steps of creating a realistic fire drawing. This easy guide will walk you through the process, from initial sketch to final details.Laying the Foundation: Guidelines and Outlines
To get you started on the right track, here are the fundamentals of drawing flames, from the basic shapes to more advanced effects.- Step 1: The Central Guideline. Use a 2HB pencil to draw a faint vertical line down the center of a sheet of thick paper. This line helps keep the drawing symmetrical (if desired) and prevents you from losing the vertical direction as you draw the fire’s outline.
- Step 2: Basic Flame Shape (Teardrop). To make a simple sketch of flames, start with your basic flame shape. You can draw a tear drop to help you get started if you need to. Remember, it should be narrow and pointed at the top, and rounded and wider at the bottom. This will be your primary flame.
- Step 3: Drawing the Outer Contour. To start learning how to draw fire, begin by sketching a smooth, curved line on the left side, following the general upward flow. This will form the outer contour of the flame. The curve can be slightly irregular to mimic the natural movement of fire. Repeat this for the right side, ensuring the overall shape flows upward.
- Step 4: Adding Layers of Flames. Underneath those initial lines, draw the peaks again 2 more times until you have 3 identical lines with a little space between each. These represent the different layers of the flame, with the inner layers being hotter and brighter. Each point of flare should dip outwards and then inwards while curving sharply towards the pointed part.
Adding Depth and Flickering Details
Your fire drawing is almost complete, and just needs a few final details to bring it to life.- Step 5: Inner Flame Shapes. Draw a smaller droplet shape inside the first one you drew. Then, add even smaller droplets within the second fire. These internal shapes define the core of the flame and will be crucial for coloring.
- Step 6: Flickering Details. For this step, we will be adding in some small flickering details. To do this, you can draw in a few shapes that are similar to the very first shape you drew in step 1, but much smaller and more erratic. These represent tiny sparks or embers breaking away from the main flame.
- Step 7: Refine and Erase. Once you are satisfied with the general outline and internal shapes, gently erase any unnecessary guidelines or pencil marks. You can now go over your lines with a pen for a more defined look, if desired.
Mastering Color and Shading in Fire Drawing
Color is paramount in fire drawing. It's what truly brings the element to life, conveying heat, intensity, and movement. Understanding the basic rules of fire coloring is key to creating a realistic and vibrant depiction.The Fiery Palette: Yellow, Orange, and Red
The classic fire palette consists of yellow, orange, and red, but their application is crucial for achieving depth and realism.- Inner Core (Yellow): The hottest part of the flame is typically the brightest. Therefore, the innermost part of your fire drawing should be colored yellow. This represents the most intense heat.
- Middle Layer (Orange): As you move outwards from the core, the temperature slightly decreases, and the color transitions to orange. This middle part of the flame provides a smooth gradient from the intense yellow.
- Outer Layer and Sparks (Red): The coolest and outermost part of the flame, as well as any detached sparks, should be red. This creates a halo effect and defines the furthest reach of the flame.
Stylized vs. Realistic Fire Drawing
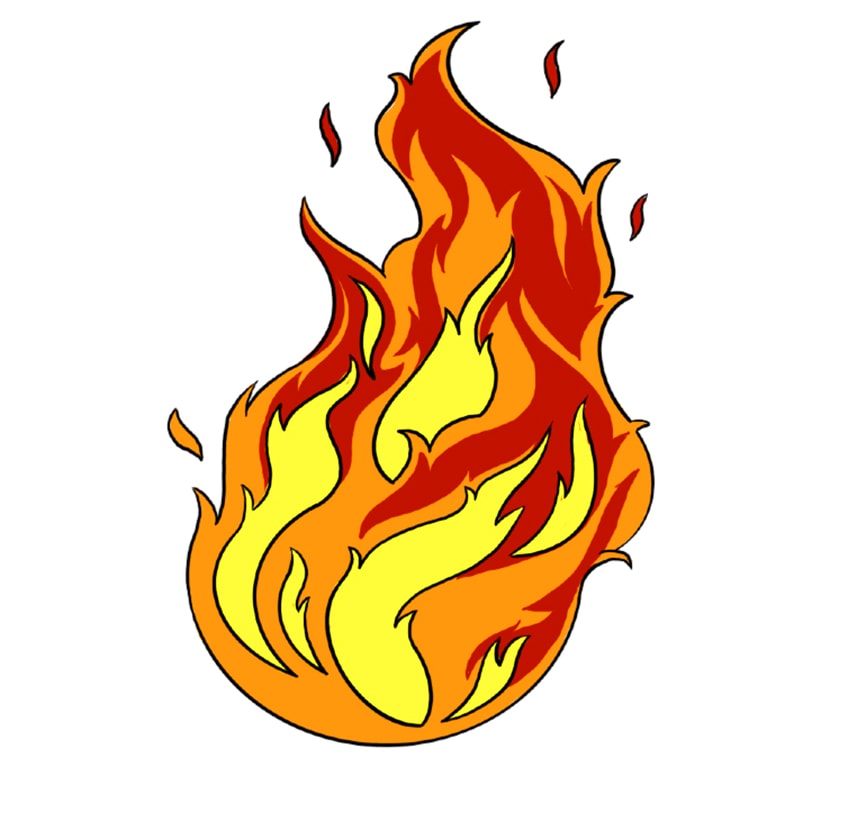
When approaching fire drawing, you have the creative freedom to choose between a stylized or a realistic approach. Both have their merits and applications.- Stylized Fire: This approach often simplifies the flame's complex forms into more graphic, iconic shapes. It might involve bolder outlines, flatter colors, or exaggerated movements. Stylized fire is excellent for cartoons, logos, or designs where a clear, impactful representation is desired rather than absolute realism. You can follow instructions to create a stylized fire sketch with different colors and shapes, perhaps using the repeated teardrop method for a simple yet effective flame.
- Realistic Fire: As discussed throughout this guide, realistic fire drawing focuses on capturing the nuanced details of light, shadow, movement, and color gradients. It requires careful observation and a deeper understanding of how fire behaves in the real world. This approach aims to make the fire appear as if it could truly flicker off the page.
Practice, Observation, and Inspiration
Like any skill, drawing flames requires patience and practice. The more you draw, the better you will become at capturing its elusive nature.- Observe Real Fire: Pay attention to how real flames move, how their colors shift, and how they interact with their surroundings. Notice the subtle flickers and the way light emanates from the heat.
- Study Photographs: Try drawing different types of flames and look at many different photographs of fires so that you can get a better understanding of how fire looks in a still image. This helps you capture specific moments and details.
- Seek Inspiration: Find and save ideas about fire drawing on Pinterest, art communities, or even YouTube. Platforms like Kids Art Hub, a YouTube channel where kids can find a lot of drawing tutorials, offer animated drawing lessons designed for children of all ages, which can be great for understanding basic shapes and movements. For a more in-depth look at the process, search for a "4 fire drawing process full video" to see professional artists at work.
Beyond the Basics: Advanced Fire Drawing Techniques
Once you've mastered the fundamentals of fire drawing, you can explore more advanced techniques to add even greater depth and realism to your artwork.- Smoke and Ash: Fire is often accompanied by smoke, which adds another layer of realism. Smoke typically rises and dissipates, often appearing as soft, gray plumes. Ash can be depicted as small, dark flakes falling from the flames.
- Light and Shadow Interaction: Fire is a light source, and understanding how it illuminates objects around it is crucial. Observe how the light from a flame casts shadows and highlights on nearby surfaces. This includes the subtle glow on the ground or surrounding objects.
- Heat Distortion: In extremely hot fires, the air around the flame can appear distorted, creating a wavy effect. This is an advanced visual effect that can add incredible realism.
- Darius Rucker Hat
- Noritz America Corporation
- Iqst Investorshub
- Taylor Fritz League Of Legends
- Darien Car Clinic Car Wash