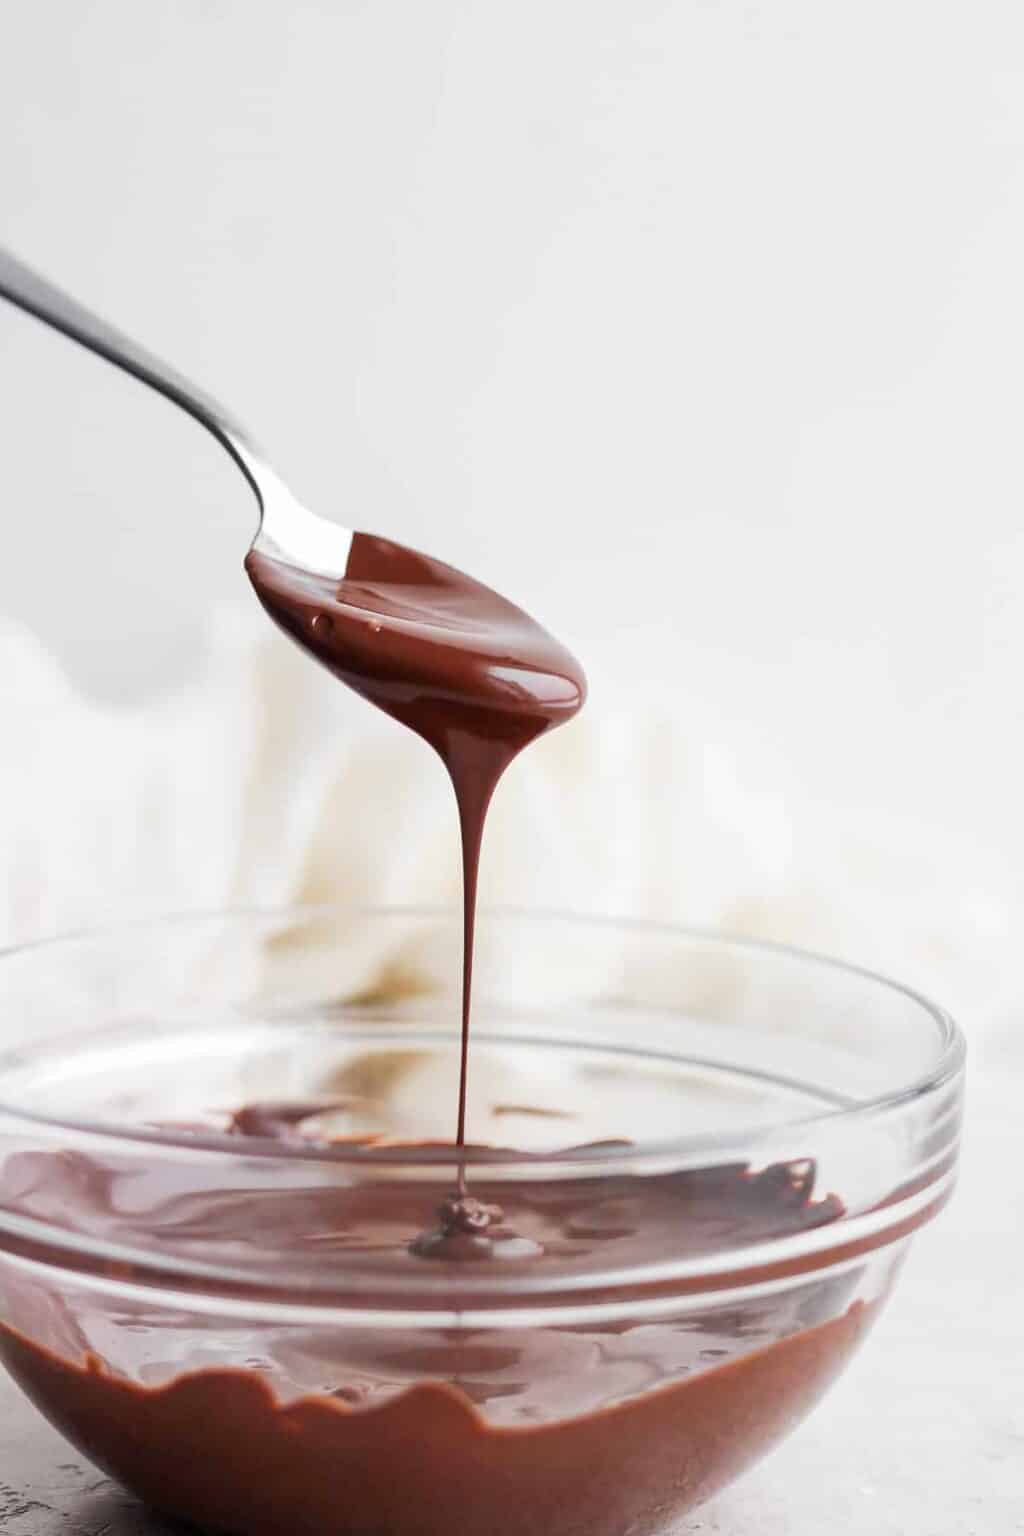
Are you ready to master the art of how to melt chocolate? Whether you're a seasoned baker or a kitchen novice, achieving that perfectly smooth, glossy melted chocolate can sometimes feel like a culinary challenge. But fear not! This comprehensive guide will equip you with all the knowledge, tips, and tricks to ensure your chocolate melts beautifully every single time, without the dreaded lumps or scorching.
From rich dark chocolate to creamy milk and delicate white varieties, understanding the nuances of each type is key to success. We'll explore the most effective methods—on the stove, in the microwave, and even in a slow cooker—and provide expert insights from our test kitchen to help you avoid common pitfalls. Get ready to transform your desserts with velvety smooth chocolate, perfect for dipping, drizzling, or incorporating into your favorite recipes.
Table of Contents
- Why Perfect Melted Chocolate Matters
- Understanding Chocolate: Types and Melting Points
- Essential Principles for Melting Chocolate
- Choosing Your Method: Stove, Microwave, or Slow Cooker?
- Method 1: How to Melt Chocolate in the Microwave
- Method 2: How to Melt Chocolate on the Stove (Double Boiler)
- Method 3: How to Melt Chocolate in a Slow Cooker
- Expert Tips for Velvety Smooth Chocolate Every Time
Why Perfect Melted Chocolate Matters
Melted chocolate is a versatile ingredient that elevates countless desserts, transforming them from good to truly extraordinary. Imagine a rich, fudgy brownie, or a decadent chocolate cake; their deep chocolate flavor and dense texture often come from incorporating perfectly melted chocolate into the batter. Beyond baking, melted chocolate serves as an exquisite topping for ice cream, a luxurious coating for fresh fruit, or an artistic drizzle over pastries. However, if you don’t know how to melt chocolate the right way, you’ll likely end up with a lumpy mess, a gritty texture, or even burnt, seized chocolate. This can ruin not only the appearance of your dish but also its taste and texture. The key to melting chocolate is to get it completely and evenly melted without it scorching and burning from too much heat exposure. Our goal is to achieve that coveted velvety smooth chocolate, every time, ensuring your culinary creations are as delicious as they are beautiful.Understanding Chocolate: Types and Melting Points
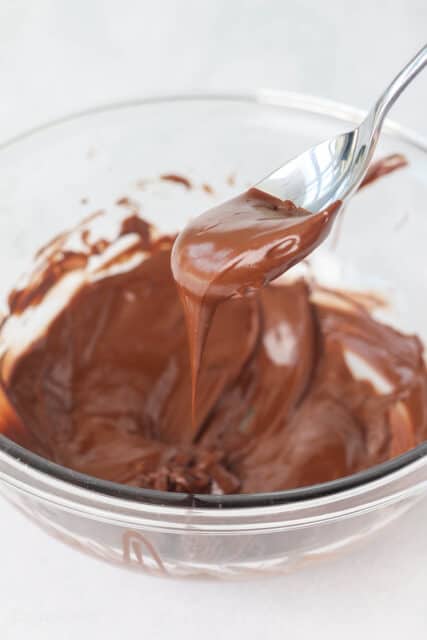
Before we dive into the "how-to," it's crucial to understand the different types of chocolate you might be working with, as their composition directly impacts their melting behavior. You can use these methods to melt chocolate of any type, from dark to milk chocolate and from white to ruby chocolate. * **Dark Chocolate:** Generally contains a higher percentage of cocoa solids and less sugar. It has a higher melting point due to its composition. * **Milk Chocolate:** Contains milk solids and more sugar, which lowers its melting point compared to dark chocolate. * **White Chocolate:** Does not contain cocoa solids, but is made from cocoa butter, sugar, and milk solids. It has a lower melting point and is more prone to scorching due to its high sugar and milk content. * **Ruby Chocolate:** A newer variety, naturally pink, with a unique fruity flavor. Its melting properties are similar to white or milk chocolate. As our test kitchen experts confirm, the composition of the ingredients (between cocoa mass, sugars, and cocoa butter) changes across dark, milk, and white chocolate, thus having different melting temperatures. This is why a method that works perfectly for dark chocolate might be too aggressive for white chocolate. It's also worth noting that melted chocolate chips will likely be thicker than melting chocolate pieces. This is because chocolate chips often contain stabilizers to help them hold their shape during baking. If you find your melted chips too thick for your desired application, you can often thin them out with a small amount of fat, like coconut oil or butter, as we'll discuss later.Essential Principles for Melting Chocolate
The very first time I melted chocolate, I learned the hard way that chocolate can burn and seize. It took me many attempts to perfect the methods of properly melting chocolate without burning it. To avoid similar frustrations, remember these fundamental principles: 1. **Avoid Direct Heat:** As a general rule, chocolate should not be heated with direct heat. Direct, intense heat is the primary culprit behind scorched, grainy, or seized chocolate. Instead, opt for indirect heat methods like a double boiler or controlled microwave heating. 2. **Low and Slow is Key:** Gentle, consistent heat is your best friend. Rapid temperature changes or excessive heat will cause the cocoa solids and fats to separate, leading to a gritty, unappealing texture. 3. **Stir Constantly (or Frequently):** Whether on the stove or in the microwave, regular stirring is vital. Use a spoon or a rubber spatula to move the pieces of chocolate around in the bowl, and scrape the sides and the bottom of the bowl frequently. This ensures even melting and prevents hot spots that can lead to burning. 4. **Melt in Intervals:** Especially with the microwave, melting in short intervals prevents overheating. The residual heat in the bowl will continue to melt any small lumps even after it's removed from the heat source. 5. **Keep it Dry:** Water is chocolate's arch-nemesis when melting. Even a tiny drop of water can cause chocolate to "seize," turning it into a thick, grainy, unworkable paste. Ensure all your equipment is completely dry.Choosing Your Method: Stove, Microwave, or Slow Cooker?
When melting chocolate, the first thing to decide is the method. Each method brings its own advantages and disadvantages, making some more suitable for certain applications or quantities. For most recipes (think chocolate bark, dipped fruit, or cookie toppers), you can melt chocolate using one of three primary methods: a double boiler on the stove, a microwave oven, or even a slow cooker. These methods all work wonderfully, especially when a dessert recipe calls for melting chocolate with another ingredient, such as butter, shortening, coconut oil, or whipping cream. We’ve tested five different methods against each other, and here are our top three recommendations, ensuring you achieve that velvety smooth chocolate every time.Method 1: How to Melt Chocolate in the Microwave
The microwave is undeniably a great tool for melting chocolate. If used properly, it can melt chocolate more quickly than a double boiler with minimal effort and mess. It’s particularly ideal for smaller quantities or when you need melted chocolate in a hurry.Microwave Melting: Quick and Clean
The most critical part of melting chocolate in the microwave is choosing an appropriate container. Always use a microwave-safe bowl, preferably glass or ceramic, as plastic can retain heat unevenly. **Steps to Melt Chocolate in the Microwave:** 1. **Prepare Your Chocolate:** Chop your chocolate into small, uniform pieces or use chocolate chips. Smaller pieces melt more evenly and quickly. 2. **Place in Microwave-Safe Bowl:** Put your chocolate in the chosen bowl. 3. **Initial Heat:** Microwave on high heat for 30 seconds. 4. **Stir:** Stop and stir the chocolate chips thoroughly. Even if the chocolate doesn't look melted, stirring helps distribute the heat. 5. **Continue Heating in Intervals:** Return to the microwave and heat on high for another 30 seconds. Repeat this process, stirring after each interval. 6. **Adjust Timing:** For smaller amounts, like 1/2 cup of chocolate, it takes approximately 1 minute to melt on high heat, often in two 30-second bursts. For larger quantities, you might need more intervals, but always stick to short bursts (15-30 seconds). 7. **Final Stir:** Once the chocolate is mostly melted with just a few small lumps remaining, remove it from the microwave. Remember to wear oven mitts to remove the hot bowl. The residual heat of the chocolate in the bowl will continue to melt any little lumps that are left as you stir. 8. **Avoid Overheating:** Keep in mind that the melted chocolate shouldn't be hot or you'll risk burning it. If it looks shiny and smooth, it's perfect. If it looks dull or clumpy, it might be scorched. This method is fantastic for quick projects like chocolate bark, dipping fruit, or making cookie toppers.Method 2: How to Melt Chocolate on the Stove (Double Boiler)
Melting chocolate on the stovetop using a double boiler (also called a bain marie) is a classic and highly reliable method, especially for larger quantities or delicate chocolates like white chocolate, which are more prone to scorching. This method provides gentle, indirect heat, making it almost foolproof for achieving a silky-smooth consistency.The Classic Double Boiler (Bain Marie) Method
A double boiler consists of two nested pots: a larger pot filled with a small amount of simmering water, and a smaller, heatproof bowl (glass or metal) that fits snugly over the top of the larger pot without touching the water. **Steps to Melt Chocolate on the Stove:** 1. **Set Up Your Double Boiler:** Fill a saucepan with about 1-2 inches of water. Bring the water to a gentle simmer over medium-low heat. The water should not be boiling vigorously. 2. **Prepare Your Chocolate:** Chop your chocolate into small, uniform pieces. This ensures even melting. 3. **Place Chocolate in Bowl:** Put the chopped chocolate into a heatproof bowl that fits securely over the saucepan. Crucially, ensure the bottom of the bowl does not touch the simmering water. The steam from the water is what gently melts the chocolate. 4. **Melt Gently:** Place the bowl over the simmering water. The steam will gradually heat the bowl and melt the chocolate. 5. **Stir Constantly:** Stir the chocolate constantly until it melts. Use a rubber spatula to move the pieces of chocolate around in the bowl, and scrape the sides and the bottom of the bowl frequently to ensure even melting and prevent any part from overheating. 6. **Remove from Heat:** Once the chocolate is completely melted and smooth, remove the bowl from the saucepan. Be careful of the steam when lifting the bowl. 7. **Use Immediately:** Your perfectly melted chocolate is now ready to be incorporated into your recipe. This method provides excellent control over the melting process and is highly recommended for sensitive chocolates or when precision is paramount.Method 3: How to Melt Chocolate in a Slow Cooker
While less common, melting chocolate in a slow cooker is an excellent hands-off method, particularly useful for melting large quantities of chocolate for dipping parties, candy making, or when you need to keep chocolate warm and melted for an extended period. It leverages the slow cooker's ability to maintain a consistent, low temperature.Slow Cooker: Hands-Off Melting
The slow cooker method is all about patience and minimal intervention, making it incredibly convenient. **Steps to Melt Chocolate in a Slow Cooker:** 1. **Prepare Your Chocolate:** Chop your chocolate into small, uniform pieces or use chocolate chips. 2. **Place in Slow Cooker:** Add the chocolate directly into the slow cooker insert. For larger quantities or to prevent any potential scorching, you can place a heatproof bowl with the chocolate inside the slow cooker, creating a makeshift bain marie effect (though often not strictly necessary with the slow cooker's low heat). 3. **Set to Low:** Set your slow cooker to its "LOW" setting. Avoid "HIGH" as it can overheat the chocolate. 4. **Melt Gradually:** Allow the chocolate to melt slowly. This can take anywhere from 30 minutes to an hour or more, depending on the quantity and the slow cooker's efficiency. 5. **Stir Occasionally:** Stir the chocolate every 15-20 minutes with a rubber spatula. This helps distribute the heat and encourages even melting. 6. **Maintain Warmth:** Once fully melted and smooth, you can switch the slow cooker to the "WARM" setting to keep the chocolate in a liquid state for dipping or drizzling over an extended period. This method is perfect for chocolate fountains, large batches of dipped strawberries, or when preparing multiple components for a dessert bar.Expert Tips for Velvety Smooth Chocolate Every Time
Beyond the specific methods, a few expert tips can make all the difference in your chocolate melting journey. As culinary instructor Sue Stetzel teaches us, melting chocolate the right way involves attention to detail and understanding the nuances of the ingredient.Common Pitfalls and How to Avoid Them
* **Seizing:** This is when chocolate suddenly turns from smooth to a thick, grainy, unworkable paste. It's almost always caused by contact with even a tiny amount of water or steam. Ensure all your bowls and spatulas are bone dry. If chocolate seizes, sometimes you can rescue it by stirring in a teaspoon of vegetable oil or melted butter, but it won't be as smooth. * **Burning/Scorching:** This happens from too much heat exposure, especially direct heat. Burnt chocolate will smell acrid, look dull, and have a gritty texture. There's no saving burnt chocolate; you'll have to discard it and start over. Always use low heat and melt in intervals. * **Lumps:** If you don't know how to melt chocolate chips the right way, you’ll likely end up with a lumpy mess. Lumps typically result from uneven heating or not stirring frequently enough. Consistent stirring and melting in short intervals (especially in the microwave) are key.Elevating Your Melted Chocolate
* **Thinning Thick Chocolate:** Melted chocolate chips will likely be thicker than melting chocolate pieces. If your melted chocolate is too thick for your desired application (e.g., dipping), stir in a small amount of fat. Stir some coconut oil into the melted chocolate to create a magic shell chocolate coating for ice cream or for dipping strawberries. You can also use butter or shortening. Start with 1/2 teaspoon at a time until you reach the desired consistency. * **Incorporating Other Ingredients:** These melting methods are perfect when a dessert recipe calls for melting chocolate with another ingredient, such as butter, shortening, coconut oil, or whipping cream. Simply add these ingredients to the chocolate at the beginning of the melting process (or once the chocolate is partially melted, depending on the recipe) and stir them in. * **Versatile Applications:** Once you have perfectly melted chocolate, the possibilities are endless. * **Baking:** Incorporate melted chocolate into batters for a dense, fudgy texture and deep chocolate flavor in brownie and chocolate cake recipes. * **Toppings & Drizzles:** A piping bag or spoon can be used to drizzle melted chocolate over pastries, ice cream, or fruit platters for an artistic and delicious touch. * **Dipping:** Use it for dipping pretzels, fruit, cookies, or homemade candies. No matter what type of chocolate you love (white, milk, or dark) or how you want to melt it (microwave or double boiler), we've got all the tips, tricks, and secrets for velvety smooth chocolate, every time. Our expert guide, drawing from extensive testing and professional insights, ensures you can confidently achieve perfect results.Conclusion
Mastering how to melt chocolate is a fundamental skill for any home baker or dessert enthusiast. By understanding the properties of different chocolate types and employing the right techniques—whether it's the quick efficiency of the microwave, the gentle precision of a double boiler, or the hands-off convenience of a slow cooker—you can consistently achieve that coveted velvety smooth texture. Remember the golden rules: avoid direct heat, melt in intervals, and stir frequently. With these expert tips from our test kitchen, you're now equipped to transform your chocolate from solid to silky perfection, ready to elevate any dessert. Experiment with these methods, find what works best for you, and never settle for lumpy, burnt, or seized chocolate again! What's your go-to method for melting chocolate, or do you have a secret tip you swear by? Share your thoughts and experiences in the comments below! If you found this guide helpful, don't forget to share it with your fellow chocolate lovers, and explore our other baking articles for more culinary inspiration.